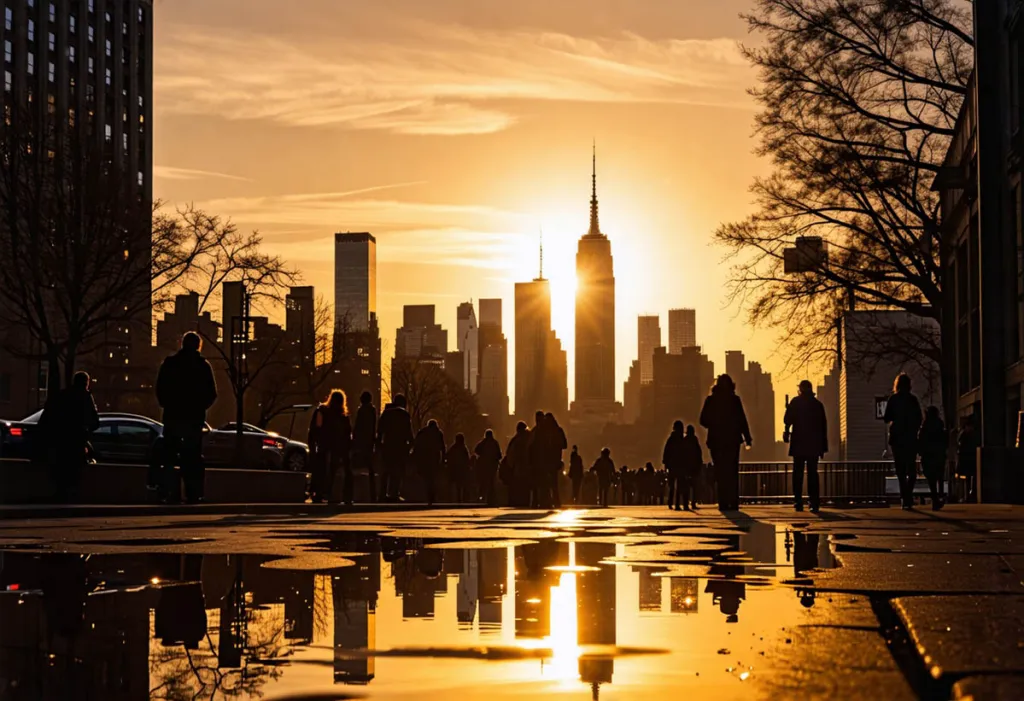
Golden hour is every photographer’s dream—a fleeting window of soft, golden light that transforms ordinary scenes into breathtaking moments. If you’re new to photography, capturing the magic of golden hour can feel elusive. But fear not! In this guide, we’ll break down the essentials to help you make the most of this enchanting time.
What Is the Golden Hour?
Golden hour refers to the period shortly after sunrise and just before sunset when the sun is low on the horizon, casting warm, diffused light. Unlike midday sun, which creates harsh shadows, golden hour light is soft and flattering, perfect for portrait, landscape, and outdoor photography.
Why Shoot During Golden Hour?
- Warm, Vibrant Colors: Golden hues enhance your photos, adding richness and depth.
- Soft Shadows: Gentle light creates a more natural, cinematic feel.
- Magical Atmosphere: The light’s angle can make even the simplest scenes look extraordinary.
How to Find the Golden Hour
Timing is everything. Use tools like:
- Apps: The Golden Hour or PhotoPills help you pinpoint the exact time based on your location.
- Online Calculators: Websites like Time and Date provide golden hour schedules for any city.
- Your Instincts: Keep an eye on the sky—when shadows grow longer and the light warms, you’re in golden hour territory!
Essential Gear for Golden Hour Photography
While you can capture stunning shots with just a smartphone, these tools can elevate your golden hour game:
- Tripod: Stabilize your shots, especially in low light.
- Reflector: Bounce warm light onto your subject for portraits.
- Filters: Use a graduated ND filter to balance the exposure between the sky and the ground.
- Wide-Angle Lens: Perfect for capturing sweeping landscapes.
Pro Tips for Beginners
- Arrive Early: Golden hour is fleeting—arrive 30 minutes early to scout locations and set up.
- Shoot in Manual Mode: Take control of your exposure for better results.
- Experiment with Angles: Backlighting and side lighting can add depth and drama.
- Use Silhouettes: Position your subject against the sun to create striking silhouettes.
Editing Your Golden Hour Photos
Enhance the magic in post-processing with these tips:
- Boost Warm Tones: Increase the temperature in Lightroom or Photoshop.
- Adjust Shadows and Highlights: Preserve details by fine-tuning exposure.
- Enhance Contrast: Make the golden hues pop without over-editing.
Golden Hour Photography Ideas
Need inspiration? Try these shots:
- Portraits: Capture friends or family bathed in golden light.
- Landscapes: Showcase the beauty of nature with vibrant skies.
- Silhouettes: Use trees, people, or buildings to create dramatic shapes.
- Reflections: Find water sources to double the golden glow.
Conclusion
Golden hour is a magical time that elevates your photography to new heights. With a little preparation and the tips in this guide, you’ll capture stunning photos that radiate warmth and emotion.
Ready to master the golden hour? Grab your camera, check the time, and let the magic unfold!
Check out other photography tips on our blog.
Visit this Golden Hour calculator website.
